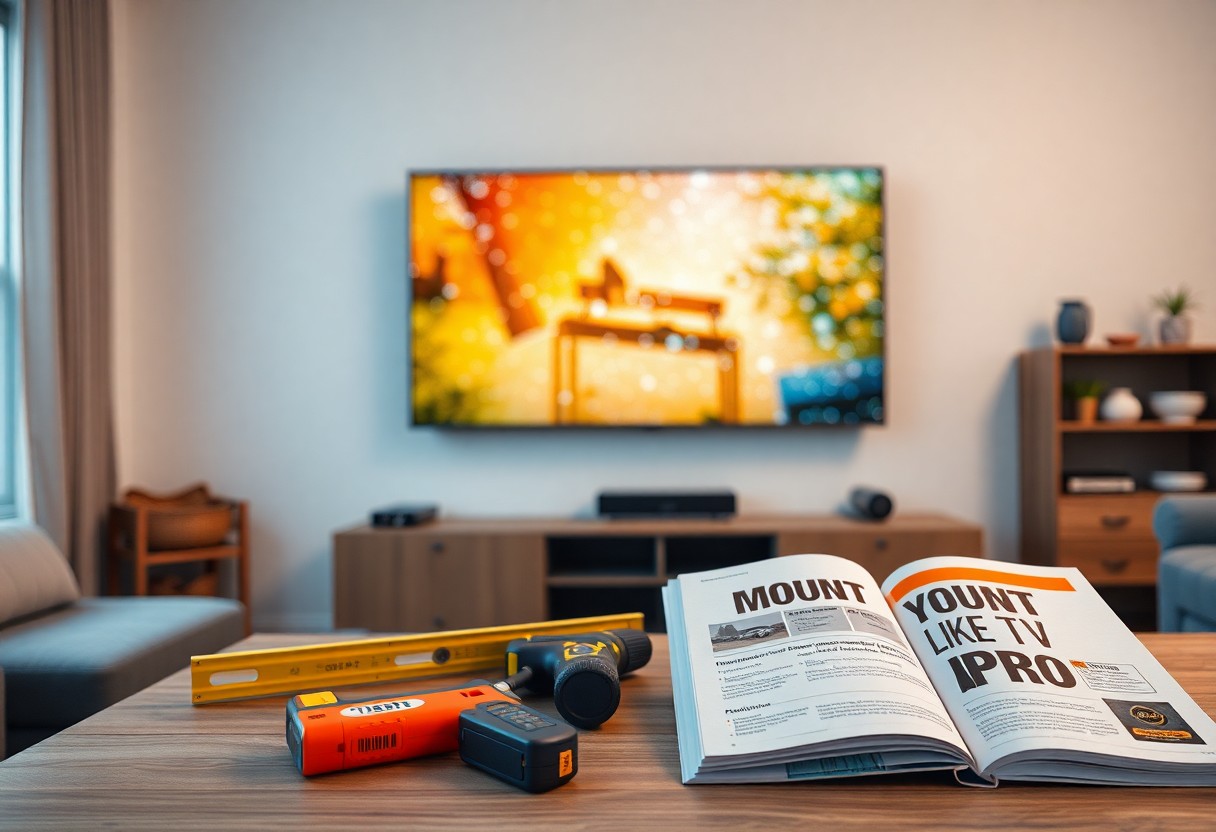
Over the years, mounting your TV has evolved into a stylish and space-saving necessity for modern homes. If you want to elevate your viewing experience while keeping your living area organized, this guide is just for you. Here, you’ll find a comprehensive, step-by-step approach to securely mount your TV like a pro, complete with tips and tricks that ensure a flawless installation. Get ready to transform your space and make your entertainment setup the envy of all your friends!
Contents
Choosing the Right Mount
A successful TV installation begins with selecting the appropriate mount for your TV and space. The right mount enhances viewing pleasure and ensures safety. You’ll want to consider the specifications of your TV, wall type, and viewing preferences. This decision sets the groundwork for a professional-looking installation.
Factors to Consider
While selecting a mount, you should evaluate several important factors:
- TV size and weight
- Wall material (drywall, concrete, etc.)
- Viewing angle and height
- Accessibility for cable management
- Style and design preferences
Recognizing these factors will guide you towards a suitable mount for your TV.
Types of Mounts Available
Right, there are several types of mounts to consider when hanging your TV. Each type is designed to suit different preferences and spatial setups. Evaluate the following options:
- Fixed mount
- Tilting mount
- Full-motion mount
- Ceiling mount
- Corner mount
After assessing your needs, you can select the most fitting mount type.
| Mount Type | Description |
|---|---|
| Fixed Mount | Stays flush against the wall for a clean look. |
| Tilting Mount | Allows vertical tilt for better viewing angle. |
| Full-motion Mount | Offers full swivel and tilt capabilities. |
| Ceiling Mount | Ideal for unique living spaces, mounted from above. |
| Corner Mount | Best for tight spaces and maximizing viewing angles. |
For instance, if you prefer flexibility in viewing, a full-motion mount may be your best choice. Conversely, a fixed mount works well in more stable setups. Here’s more on the different mount styles:
- Fixed mounts are ideal for well-positioned TVs.
- Tilting mounts enable a better viewing angle for higher placements.
- Full-motion mounts are versatile and allow adjustments.
- Ceiling mounts can save space in smaller rooms.
- Corner mounts utilize space effectively in unconventional layouts.
After understanding these options, you’re better equipped to make an informed choice for your TV mount.
Measuring and Preparing Your Space
Now that you’ve decided to mount your TV, it’s vital to measure and prepare your space for the installation. Start by determining the ideal height for your TV, ensuring it aligns with your viewing position for optimal comfort. Assess the available wall space to ensure the area can accommodate the TV size you’ve chosen, factoring in clearance for cables, sound systems, and other equipment. Taking the time to prepare your surroundings will result in a clean and professional-looking setup.
Key Measurements for Mounting
For successful TV mounting, you’ll need to take some important measurements. First, measure the height at which you’d like the center of the screen to sit, which should ideally be at eye level when seated. Then, determine the wall space available, ensuring there’s enough clearance for any additional items you plan to place nearby. Finally, verify the width and weight of your TV to select an appropriate mount that can securely hold your device.
Wall Material Considerations
Measuring your wall material is just as important as getting the dimensions right. The type of wall you are working with—whether it’s drywall, concrete, or brick—will affect how you mount your TV and the hardware you’ll need. Certain materials require specific anchors or support to ensure a sturdy installation, so you’ll want to choose anchors that are appropriate for your wall type.
Your wall’s material influences not only the mounting process but also the stability of your TV’s installation. For drywall, you’ll typically use toggle bolts or special drywall anchors, while concrete or brick walls may require masonry anchors. Additionally, understanding your wall material will help you determine where the studs are located, ensuring you attach the mount securely for optimal safety and support. Take the time to properly assess your wall to avoid complications later on during installation.
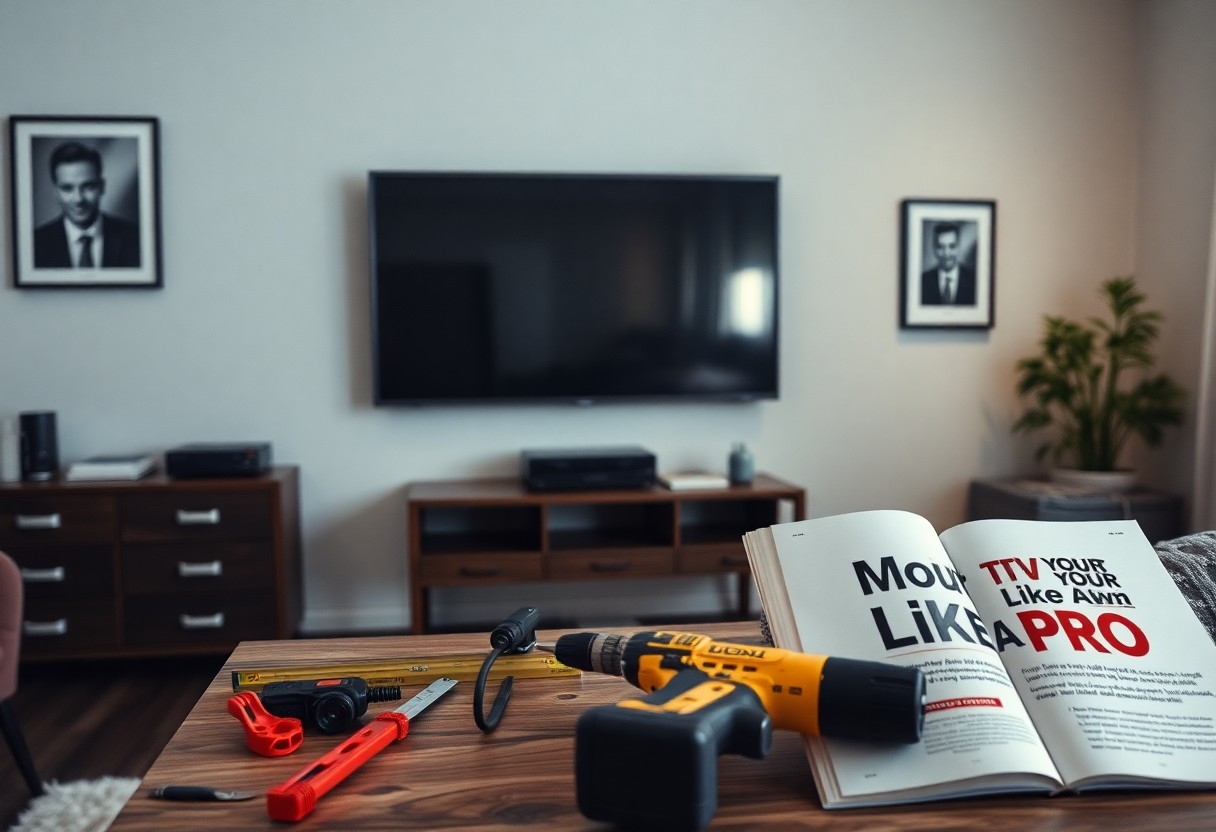
Gathering Your Tools and Materials
The first step to successfully mounting your TV is gathering all the necessary tools and materials. This preparation will make the installation process smoother and more efficient. Before you look into the project, take a moment to ensure you have everything on hand, so you can avoid unnecessary trips to the hardware store.
Essential Tools for Mounting
If you want to mount your TV like a pro, you will need a few vital tools. Make sure to have a stud finder, a level, a drill, a screwdriver, and a tape measure. These tools will help you accurately locate studs, ensure your TV is straight, and securely fasten the mount to the wall.
Recommended Materials
Any successful TV mounting project also requires the right materials. You will need a compatible TV mount, screws, wall anchors, and possibly a mounting template. Having these materials ready will streamline the installation process and ensure a secure fit for your television.
Recommended materials are key to achieving a lasting and stable setup. Choose a TV mount that supports the size and weight of your television, along with appropriate wall anchors based on your wall type. It’s also helpful to have a mounting template, as it can guide you in drilling the correct holes. Investing in high-quality materials will enhance safety and durability, allowing you to enjoy your mounted TV stress-free.
Mounting the TV
Keep the requirements in mind as you prepare to mount your TV. Read through your wall mount’s instructions thoroughly, ensuring you have all necessary tools within reach. Verify you’re working with a suitable wall type, where the mount can securely support your TV’s weight. Taking the time to plan your TV’s location will result in a clean, professional installation that enhances your viewing experience.
Step-by-Step Mounting Instructions
You can follow these straightforward steps to mount your TV like a pro:
| Step | Description |
| 1 | Measure and mark the desired height for your TV. |
| 2 | Locate the studs in the wall using a stud finder. |
| 3 | Attach the wall plate to the wall, aligning it with the studs. |
| 4 | Secure the mounting brackets to the TV. |
| 5 | Hang the TV on the wall plate and ensure it is level. |
Common Mistakes to Avoid
While mounting your TV, it’s easy to overlook some important details. A common error is failing to use a stud finder, resulting in an incorrectly supported mount, leading to potential damage. You should also avoid center-alining the TV based solely on aesthetics without considering viewing angles and room layout, as it can diminish the overall experience.
Understanding these common mistakes can save you time, effort, and the frustration of having to redo your work. Many overlook proper stud placement or fail to double-check that the mount is level, which can lead to disastrous results, from unsightly tilting to the risk of the TV falling. By keeping these factors in mind, you can achieve a secure and visually pleasing installation.
Positioning and Wiring the TV
For a seamless viewing experience, proper positioning and wiring of your TV is imperative. Start by selecting a wall that meets both aesthetic and functional requirements, ensuring it is at a comfortable height for viewing. Consider the distance from seating arrangements to avoid straining your neck or eyes. Additionally, plan your wiring in advance to maintain a clean appearance and prevent entangled cables disrupting your space.
Optimal Viewing Angles
Angles matter significantly when it comes to viewing comfort. Try to sit at eye level with the center of the screen to enhance your viewing experience. Avoid placing the TV too high or low, as it can lead to discomfort over time. Ideally, the distance from your seating area to the TV should be approximately 1.5 to 2.5 times the diagonal size of the screen for optimal immersion.
Cable Management Tips
Tips for managing cables effectively can transform your setup into a neat and organized space. Consider the following suggestions:
- Use cable ties to bundle cables together for a tidy look.
- Utilize cable raceways or conduits to hide wiring along the wall.
- Plan your routes before drilling, ensuring no obstacles are present.
- Label cables to simplify future adjustments or troubleshooting.
Recognizing the importance of aesthetics and accessibility in cable management will greatly enhance your overall setup.
This attention to detail in cable management contributes to a polished presentation. You might also explore these additional methods:
- Opt for wall-mounted power outlets to eliminate visible cords.
- Integrate furniture, such as media consoles, with built-in cable management solutions.
- Use wireless devices whenever possible to reduce clutter.
Recognizing these strategies will help you achieve a more professional and clean installation.
Final Setup and Calibration
All steps taken up to this point lead to the final setup and calibration of your mounted TV. Ensure everything is secure and verify that the TV is properly aligned by following How to mount a TV to the wall in 7 easy steps. After confirming stability, it’s time to make the most of your viewing experience.
Adjusting TV Settings
Clearly, setting up your TV settings to optimize picture and sound will enhance your viewing experience. Navigate through the menu to adjust brightness, contrast, and sound output based on your preferences. Don’t hesitate to explore various picture presets that suit different types of content you enjoy watching.
Safety Checks
Calibration checks are necessary to ensure your TV is securely mounted and all cables are tucked away safely. Inspect the wall mount for stability and verify that the TV is level, avoiding any chances of it tipping or falling.
Adjusting each aspect of the installation adds another layer of safety. Ensure all wall anchors are secure and that no wires are exposed, which decreases risks of accidents. Review your work for any loose fittings, and double-check that everything is tidy to maintain a clean environment. This final step allows you to sit back and enjoy your favorite shows without worry.
Summing up
From above, you can see that mounting your TV like a pro is achievable with the right tools and preparation. By following this step-by-step guide, you can ensure a secure and stylish installation that enhances your viewing experience. Take the time to measure carefully, choose the right mount, and follow safety guidelines, and your well-mounted TV will be the centerpiece of your entertainment space for years to come. Enjoy your upgraded setup and the benefits that come with a professionally mounted television.
Leave a Reply